Learn to Make Hats: How to Make a Bandeau |
||||
|---|---|---|---|---|
The Bandeau |
||||
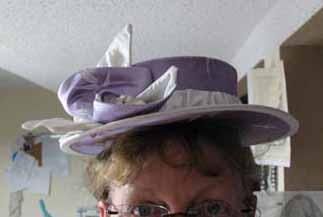 Hat Straight - WITHOUT Bandeau |
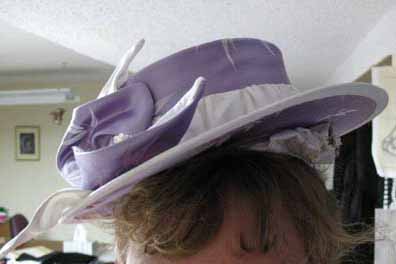 Hat Tilted WITH Bandeau |
|
||
Start
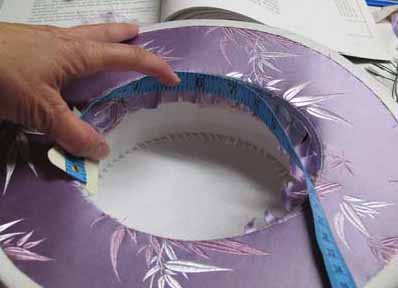
by measuring the area inside of the hat where the bandeau is to reside.
Keep in mind that the |
||||
 |
||||
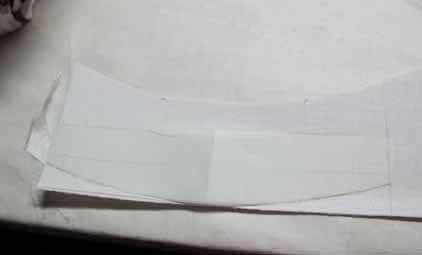
| Cut a piece of buckram the shape and length as required. The books recommend that the Bandeau be straight across the top and go into the hat about an inch. It is then moon-shaped on the bottom. | ||||
 |
 |
|||
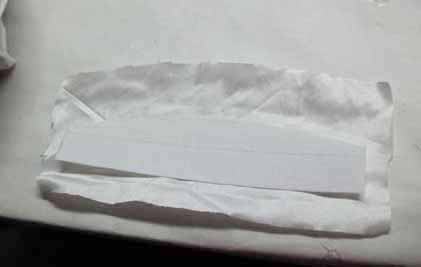
| Cover the buckram by hand so that the stitching doesn't show. I used the white silk from the hat. I wanted this Bandeau to be conservative, since the hat has a more tailored look to it. | ||||
|
||||
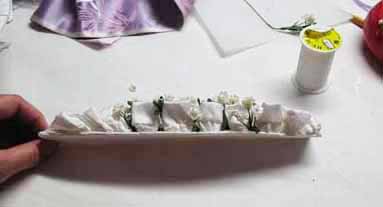
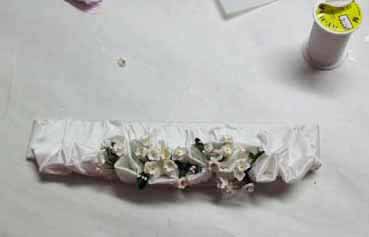
| The next step is to embellish the covered buckram in the area that will show out from under the hat. Again, I wanted this to be tailored and used the tiny little flowers that I had on the top and bring them down to the bottom. | ||||
 |
||||
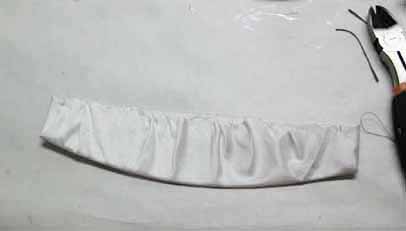
I made a long tube of the silk and then gathered it on one side. I did not press the silk because I wanted the silk to be less controlled. I stitched it to the covered buckram so that it would stand upright and stick out. I hand stitched the flowers in as well. It sort of ruffles on their edge. |
||||
|
||||
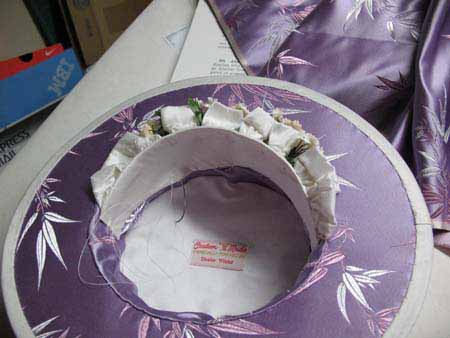
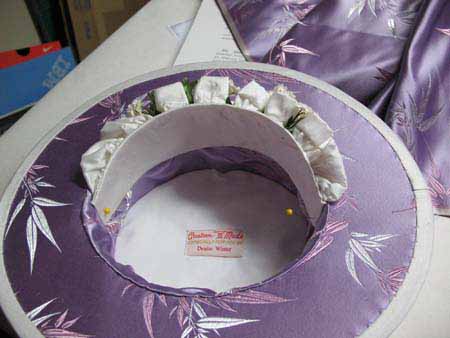
| The next step is to pin the Bandeau into place on the inside of the hat | ||||
 |
||||
| Then
stitch it into place. If you do this after the hat is lined, it can
be stitched to the lining but it is best to pick up some of the buckram
tabs as well for stability. I used millinery or heavy duty thread to
stitch it into place.
Note that I used a curved needle - my second best friend! |
||||
|
||||

