| Overview of How to Make and Cover a Buckram Frame |
|
|---|---|
Interested
in purchasing a pattern but want to know more about the process
first? The following information summarizes the hat making process defined
in the patterns and kits. |
|
|
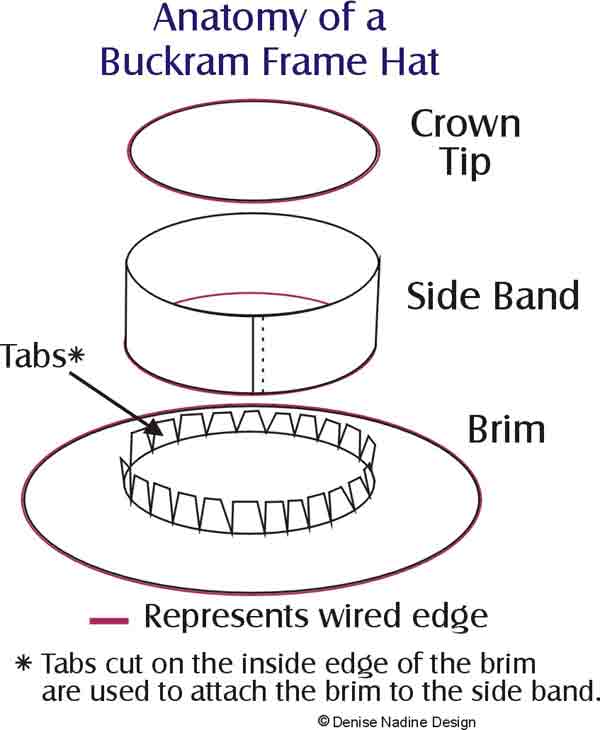
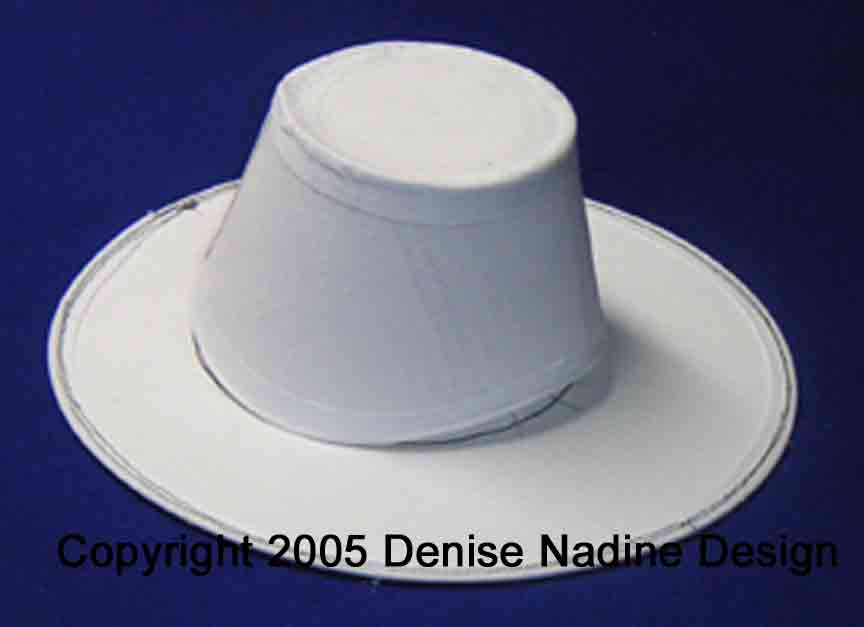
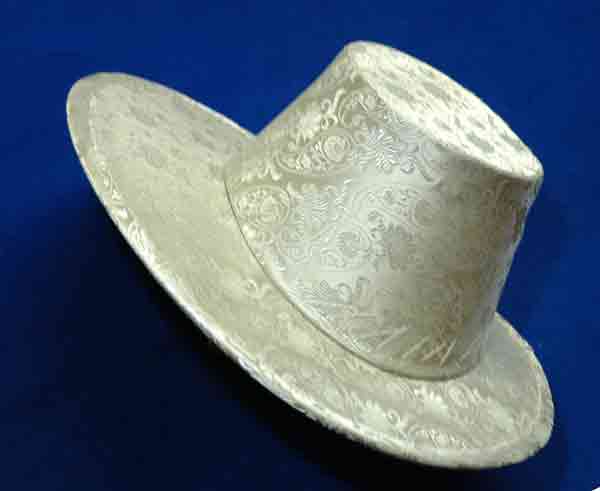
Part
1 - Anatomy of a Buckram Frame
It is helpful to understand the pieces and parts of the hat frame prior to getting started. There are typically three pieces to the hat: Crown Tip, Side Band and Brim. The crown tip and side band are attached together and after covering, are joined with the brim. The millinery wire
supports the buckram structure and insures that the shape is held in
tact. All wired edges are eventually covered with bias tape or muslin to conceal any defects or protrusions and to prevent the wire from poking through into the fashion fabric which is added later. |
|
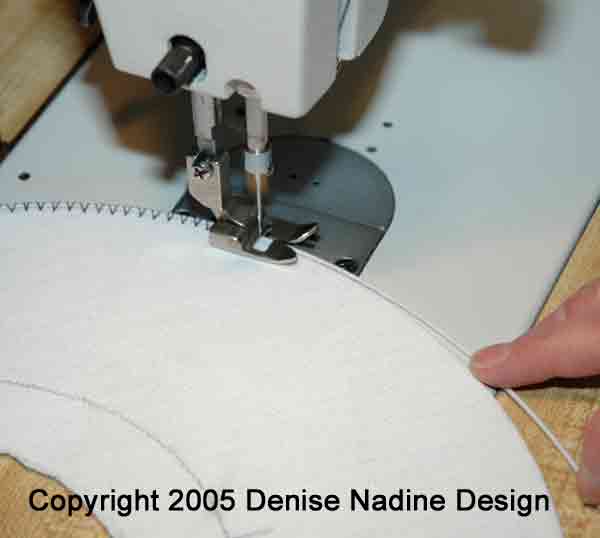
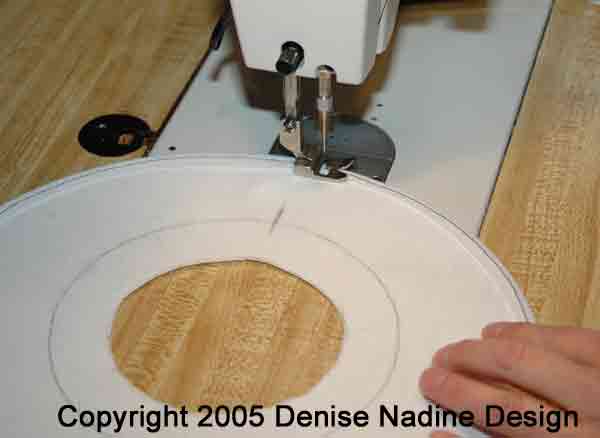
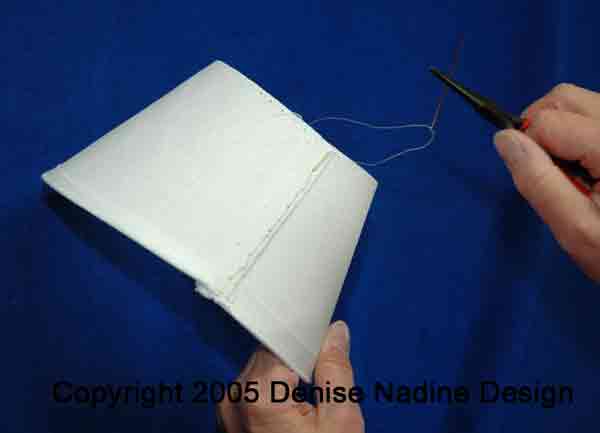
Part 2 - Constructing the Frame The pattern is traced onto the buckram and then cut out. Next, the millinery wire is sewn to the brim and tip pieces using a machine or by hand. Cover the wired edge of the brim using bias tape or muslin (by machine or by hand). Cut out the center of the inside brim edge leaving seam allowance. Stitch the ends of the center back side band together. Using a needle and doubled thread, attach the tip to the side-band. Once the tip and side-band are sewn together, the wired edges must be covered. Now your completed buckram frame is ready for covering! |
|
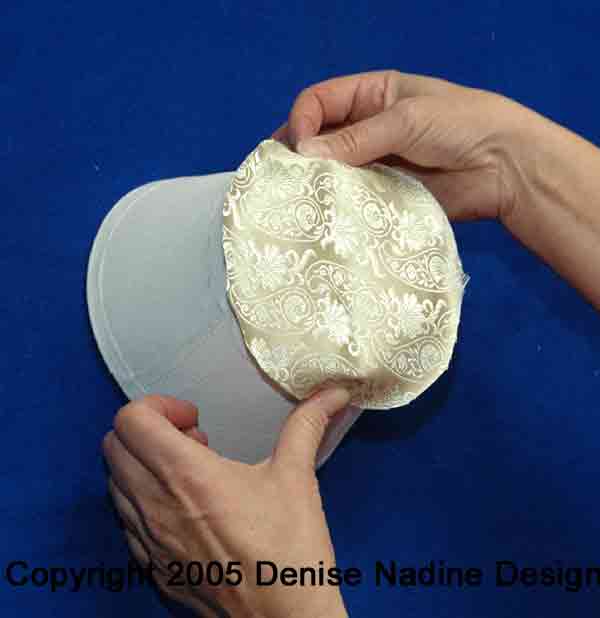
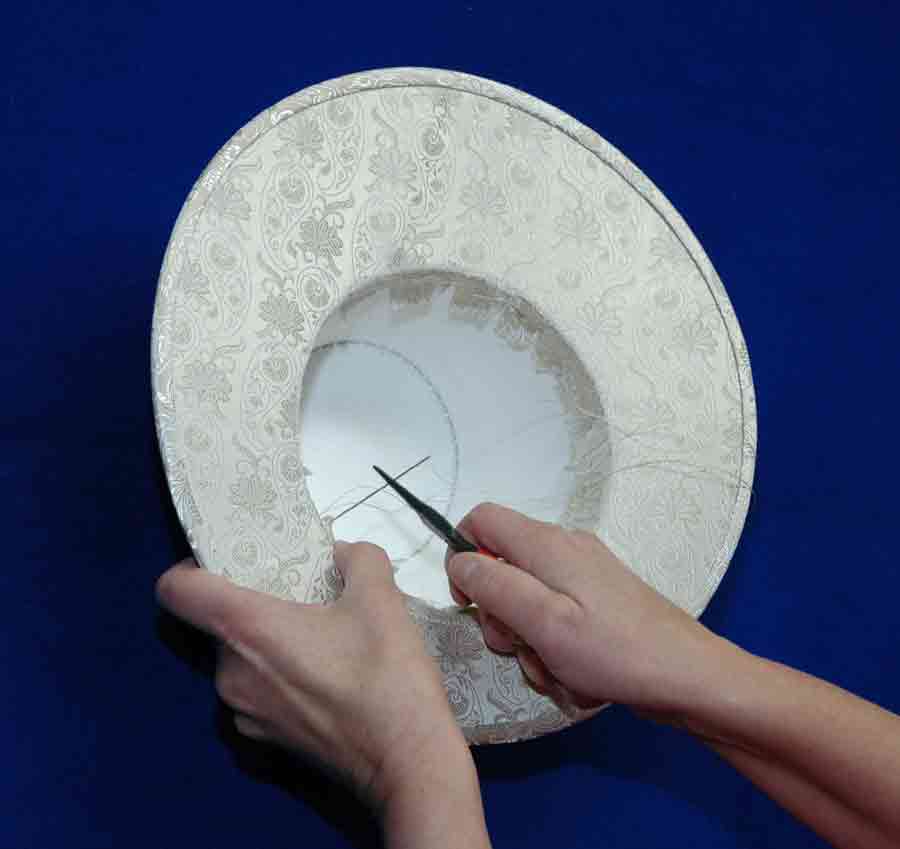
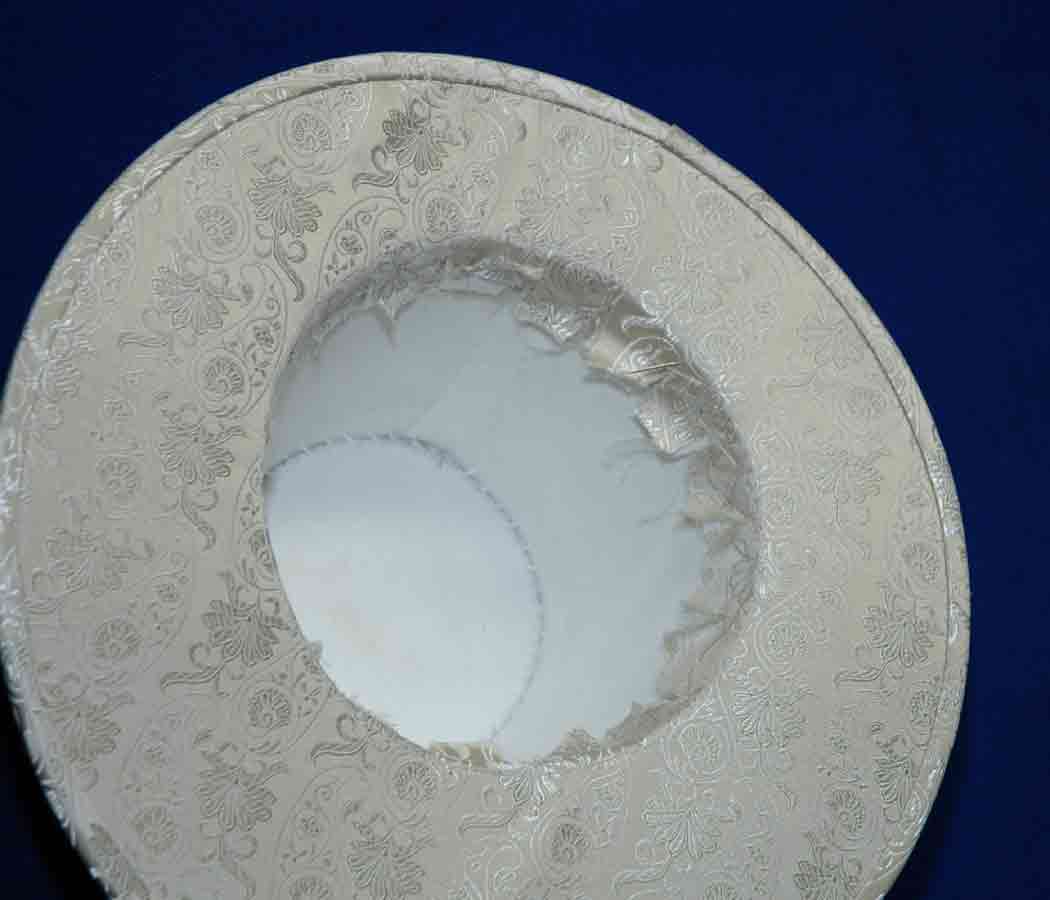
Part 3 - Covering the Buckram Frame Cut out the pattern
cover pieces - Crown Tip, Side Band, and Brim.
|
- HOME
- Period Hats & More Home
- Ordering Information
- Hat Making Supplies
- Hat Patterns & Frames
- Patterns by Period
- Hat Learning Section
- Hats for Sale
- Selecting a Buckram Frame
- Contact Us
![]()